Completed Ebay
Return to the main construction page

Top Border

September 2009 Construction Report
Mach Factor 2 Construction

September brings the end of summer and a renewed energy to complete the Mach Factor 2 project in time for Red Glare VII. The electronics sled layout was finally completed. An external arming switch was installed that bypasses the very small arming screw onboard the Parrot altimeter. This will make it easier to externally arm the rocket on the pad. To accomplish this, a switch mount bracket was fabricated from a piece of scrap G10 fiberglass and bonded on the electronics sled with Pro-Set 175-273 epoxy. Various holes were drilled and mounts installed.

A terminal was installed on the sled to allow the wiring to the Parrot altimeter to remain static between flights. The wiring ran from the terminal to the forward and aft bulk heads where the ejections charges will connect to the electronic system. The altimeter and battery holder were installed on the electronic sled as well. All mounts were built extra secure due to the projected 55 Gees at Mach 2 that this rocket is expected to achieve.

Electric matches were installed for the apogee and main connections. The Parrot altimeter was powered up using its very small onboard screw switch. The electric matches were also armed using the external arming switch. The entire electronic sled was then jolted up vertically by hand to simulate the required minimum 6 MPH and 3 Gees necessary for the Parrot to detect liftoff. Sure enough, the apogee electronic match fired, briefly followed by the main electronic match as advertised. The altimeter was then connected to the computer to download and analyze the data. My hand jolt managed to achieve 6.6 Gees and 18 MPH with an average temperature of 74 degrees. Pretty cool!

With the electronics now completed and successfully tested, work shifted to completing some minor tasks and the upper sustainer. A 1/8 inch air pressure equalization vent hole was drilled 6 inches aft from the forward end of the aft sustainer and again, 6 inches aft from the forward end of the forward sustainer. The ebay coupler was bonded 3.5625 inches into the aft section of the forward sustainer and allowed to dry. Careful measurements were taken to drill the altimeter barometric vent holes in such a position as to allow a small screw driver to be inserted to arm the ejection charges. Two more holes were drilled and tapped in the forward section for the shear pins that will hold the nose cone secure during flight. The construction of the Mach Factor 2 project was now complete.

Next
Return to the main construction page
Previous
Comments
Last Updated: 29 November, 2009 9:05 AM November 29, 2009 9:05 AM
By Peter E. Abresch Jr.
Blastoff
Completed Mach Factor 2 Project
Sled with bracket
Ebay sled with external arming switch bracket
Nose cone with shear pin
Coupleter Installed
Verifying Center of Gravity
Completed and Stored
Completed Ebay
placeholder
Ebay Coupler installed with vent hole for arming

Ground testing was next. Drawing on my ejection experience from Shaken, Not Stirred, I calculated that 1.5 grams of black powder should be sufficient for both apogee and main ejection charges. The Rocket was prepared as if ready to fly. All shockcords, heat shields, and parachutes were packed and the rocket taken outside. An old comforter was used to slightly elevate the ejection.

As in real flight, the apogee ejection was tested first. The apogee ejection occurred successfully but seemed kind of wimpy. Closer inspection revealed that the bulk of the ejection energy pushed the forward enclosure of the empty motor casing aft. This would not occur if an engine was loaded into the case. During actual flight, the apogee ejection would be a little more violent. However, in rocketry circles the saying goes, blow it apart or blow it up. I will put 1.75 grams into the checklist.

Next was the main ejection test. There were two shear pins holding the nose cone. Again the calculations showed that 1.5 grams should do the trick. Toni performed a 5-second countdown while I took video. The two shear pins popped and the nose cone shot off taking the main recovery gear with it. See the main ejection test here.

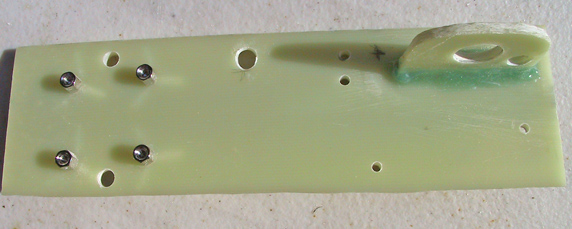
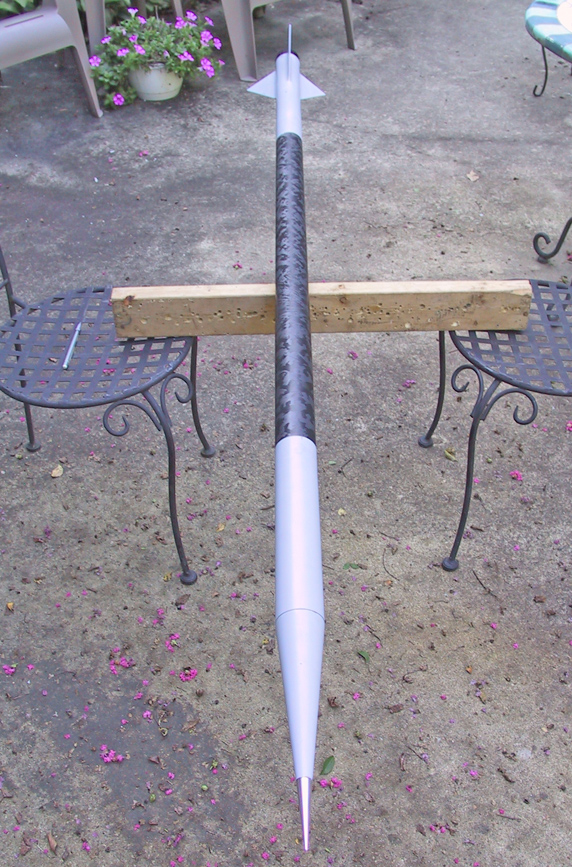
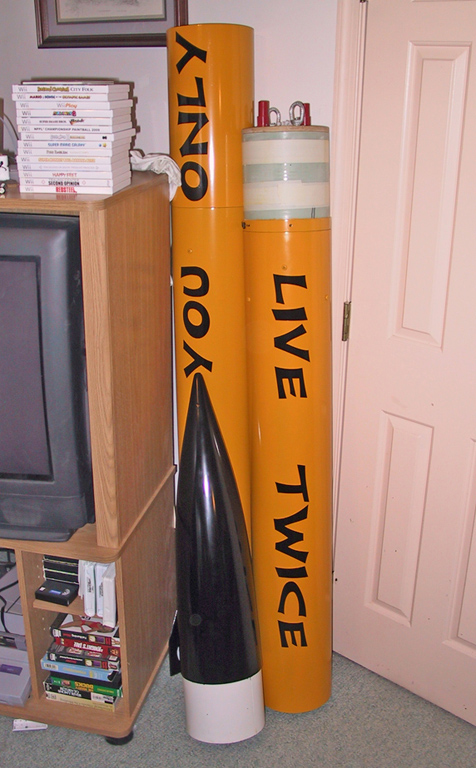
The empty engine case was removed and the rocket was weighed for its final weight. It weighed 4 pounds and 4 ounces. The Center of Gravity was also verified and it was 41.5 inches aft of the nose cone tip. The entire rocket was cleaned and given a final light sanding with 400-grit sand paper. Krylon Pumpkin Orange was chosen as the color. Three coats of Pumpkin Orange were applied to the bottom and top portions of the rocket.

This color popped when applied next to the natural black of the Carbon Fiber and should provide great visibility, unless the rocket lands in a pumpkin patch.

No rocket name could be agreed upon so we decided to call the rocket the Damn Abresch Boys which was a label that our childhood neighbors pinned on us as we were growing up. A decal for the rocket name was drafted using one of the many beetle variant fonts in the pumpkin orange color and sent to Sticker Shock . Sticker Shock created the vinyl decal of the rocket name quickly and for a reasonable price. The decal was very carefully applied and was the final touch that completed the project.

Final measurements and weights were taken now that the construction of the Mach Factor 2 project was completed. Unfortunately the rocket came in 10 ounces heaver then we hoped. All simulations for typical Maryland Eastern Shore weather now indicated that the best we can hope to achieve is mach 1.85 and 16,343 feet in altitude on the planned Loki L1400 engine. This is still no small feat. The rocket will fly through the transonic range to reach supersonic speeds. We will declare success if the rocket is launched, stays together, and is successfully recovered.

And now we wait until launch day . . .
Completed Mach Factor 2 Project