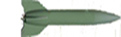
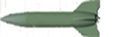
The pieces of the Mars Lander stood in the box,
collecting dust until July, when time finally presented itself. I took
the box of parts off the shelf and re-read the instructions, and then
again, and then again. I opened the epoxy only when I finally felt
confident that I knew where all the parts go. I decided to stick to
the instructions since I never built a Mars Lander before. I also found
Jeff
Brundt's build of his Mars Lander and
the pictures on the
Mars
Lander website helpful. I also often glanced at
Richard
Pitzeruse’s Mars Lander as inspiration to complete this project. I
figure I would pound each construction step out until eventually there
were no more construction steps remaining.
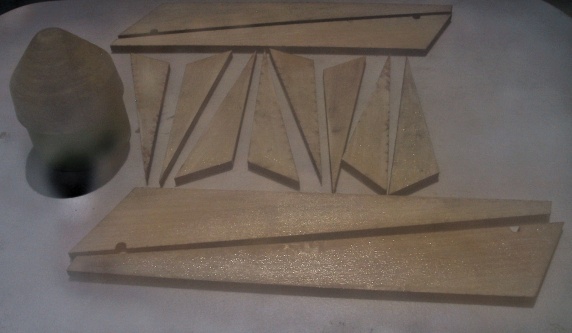
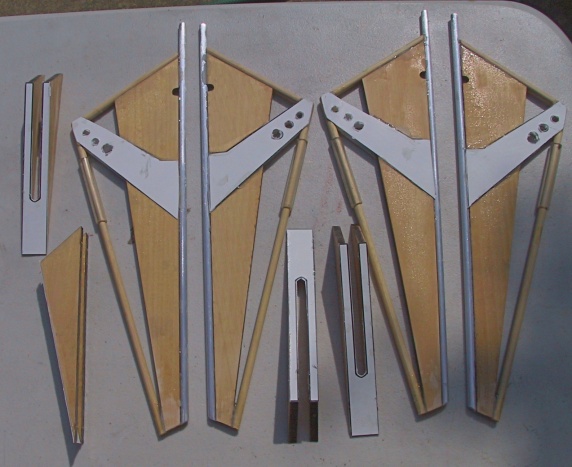
I took the gear housings and legs and sealed them with a light coat of
West System. I then carefully cut the gear housing covers from the
cardboard stock that was included with the kit. I check, and recheck
multiple times as to the orientation of the gear housings and the gear
housings covers. I applied epoxy once I was satisfied. I then set the
gear housing assemblies aside and started my efforts on the legs.
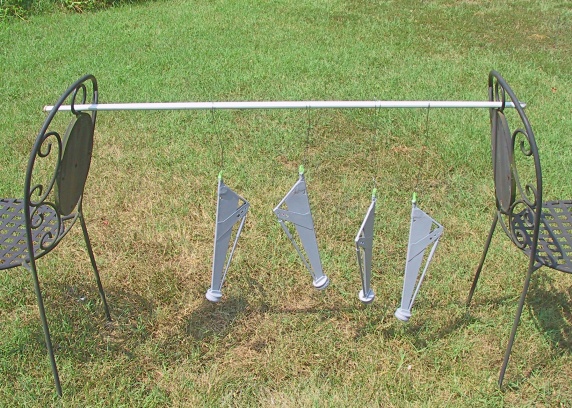
The Mars Lander legs are not for the faint hearted. There are many
pieces and I found myself referring to the instructions and the various
web sites many times until I had a clear understanding of their
construction.
Using the provided templates, I cut the four long dowels into the long
strut braces and cut an additional dowel into four short strut braces.
The four long aluminum strut braces were already cut. I scratched the
aluminum with some sand paper and epoxied the aluminum leg braces to
the bottom of each leg. I also epoxied the short dowel to the upper
part of the leg. Once dried, I cut the provided clear tubing using the
template and slid it onto the remaining four dowels at the location
indicated in the template.
I cut the eight gear strut supports from the cardboard stock. I used a
drill to cut the holes but that idea did not work as well as I had
hoped. The drill tended to shred the cardboard on the edges. I glued
one gear strut support to each of the four legs. I then epoxied the
long dowel strut and then the other gear strut support to the leg. The
landing pads were next.
I happen to have part of a 38mm motor tube and cut four ¼
sections off of this tube using a miter box saw. These became the pad
rings. Each landing pad consisted of a bottom pad, lower disc, pad
ring, upper disc, and two supports. The pads were assembled and then
epoxied to each leg with the supports. Each lander leg was then tidied
up using sandpaper and body filler. Care must be given to the cardboard
gear strut support when sanding. The legs were then primed and hung out
to dry.
July comes to an end and I have, for the most part, completed steps 1 –
12. Only 35 more steps to go.