The black fins on the aft section were taped off after curing for 7 days. Another warm and calm day is needed to complete the final paint job.
The electronics bay was disassembled and all wiring was labeled. HA45K and ARTS2 decals were made to label the arming switches. All continuity was check again. All was well and the electronics bay was set aside.
The final TAP document was completed and posted online. All unknown figures were computed and final rocket simulations were completed. Where is that warm day?
Early March brought 12 inches of snow to Southern Maryland. This was not the warm weather needed to complete the painting. Eventually the rocket gods took pity on me and brought two 70 degree consecutive days that melted all the snow and allowed the final painting to be completed. All paint was then allowed to cure for those oh so long 7 days. The rocket components were then wiped down with a shamee to remove any grit and dust.
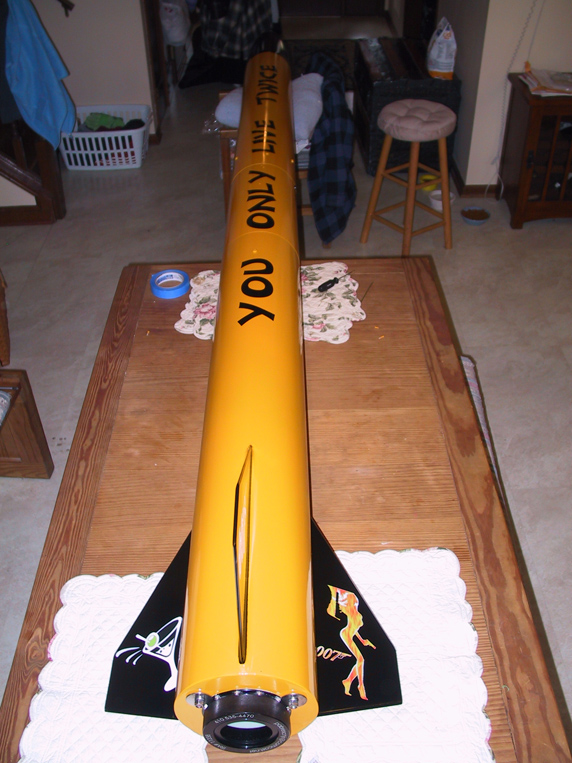
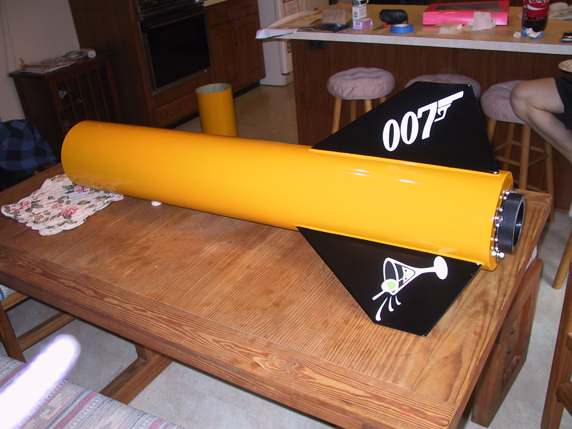
The rocket was assembled in its final configuration and moved to the dinning room for better lighting. The vinyl decals were taken out from storage and trial fitted. Masking tape was used only on one edge of the decal and all the decals were taped in position. Graphix and Stuff had already marked the centering line of the large lettering, which made the alignment along the rocket much easier. A few tweaks here and there and the vinyl decals were ready for permanent installation.
Starting with the rear of the fins, each decal was hinged back on the masking tape and the decal backing removed. The decal was slowly hinged back onto the rocket while working any air bubbles to the outside. The removed paper backing was then used to slowly rub the surface of the decal to ensure positive adhesion to the rocket and remove any small persistent air bubbles that remained. When everything looked good, the frontal paper was slowly pealed from the rocket and the vinyl. If all was well, work started on the next decal. Patience is the most important skill when applying vinyl decals. Work progressed to the more prominent and visible portions of the rocket as experience and confidence grew.
Properly applied decals can totally change the appearance of a rocket. After all the decals were applied, we stepped back and admired the final results. For all intense purposes, the rocket is now complete and was duly christen You Only Live Twice.
Various tweaks and adjustments continue to be made. Masking tape was used to tighten up the fit between the couplers and airframes to remove any wobbles. An additional 50 feet of 1-inch tubular nylon was ordered from Rocket Man . The extension will complement an existing 50 feet for a total of 100 feet of shock cord between the aft and forward airframes. This will allow better energy dissipation from the apogee charge. The ARTS2 flight computer was reprogrammed to fire the apogee charge at apogee and the main charge at 1200 feet. The HA45K barometric altimeter will backup the ARTS2 and will also fire an apogee charge with a backup main ejection charge at 1000 feet. A pilot chute was also added to the main parachute.
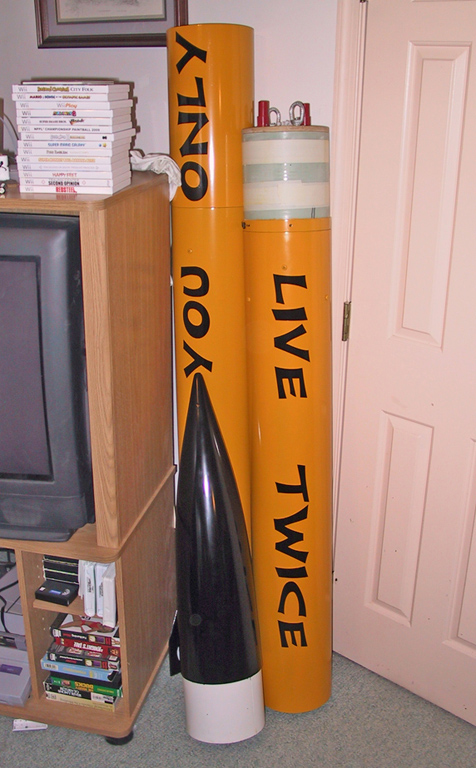
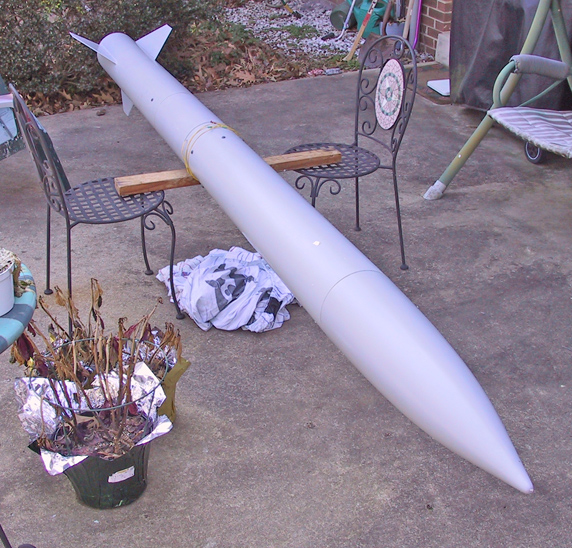
The assembled rocket was taken outside for some photo opportunities. Various photos and poses were taken. It was not until reviewing these photos that we truly appreciated how big this rocket is. Even though we knew the size of the rocket, the photos graphically revealed that the rocket is over twice as tall as Ben and I, and has put the entire project in perspective.
![]()
March starts the fourth month on this level 3 build. Ground testing must be completed before continuing. The Ejection Charge Calculator was used to compute the required grams of 4F black powder necessary to separate the rocket during the various stages of recovery. Ground testing ensures that these calculations are correct, otherwise the rocket might core sample into the ground. The calculations revealed that 6 grams for the apogee and main deployment was a good starting point. The ejection charges were made up and installed. Extra long wiring was threaded through the vent holes on the Ebay for firing.
The rocket was assembled as it would be for an actual flight. All shear pins were installed and the harnesses and recovery gear connected. The rocket was then weighed. The rocket weighed 71.6 pounds without the engine. This was slightly over my original 70 pound estimate. With a loaded Loki M1882 engine, the rocket is predicted to weigh 81.2 pounds on the pad. The Center of Gravity (CG) was manually verified at this time as well. The rocket was balanced on a 2X4 board and the CG measured 81.5 inches from the tip of the nose cone. This value will be used to reconcile any differences in Rocksim.
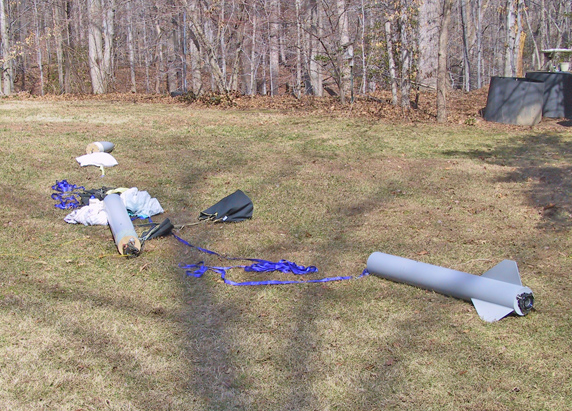
The rocket was then relocated to the back yard and prepared for firing. Some old sheets were used to position the 2 halves so the separation would not drill a section into the ground. The apogee separation test would be first. The intention was to shear the three shear pins holding the aft and forward airframes together and provide enough separation so that the drogue chute clears the airframe. If this is achieved on the ground, then in the air the separation would be greater. The 50-foot recovery harness and the drogue chute will dissipate any extra energy in the air. A 9-volt battery was used to provide the ignition. The apogee charge successfully fired after a short countdown, separating the two halves as expected. 6 grams was enough and would go into the check list. Witness the apogee ground test here.
Next test was the main ejection charge. Again the upper half of the rocket was position so that the nosecone would not fly through the kitchen window. This test would verify that 6 grams would shear the six nosecone pins, push the nosecone with its separate parachute clear, and push the main parachute bag out. A short countdown and a loud boom later, the nose cone went flying off with its chute. The main parachute bag was pushed almost clear. Another gram will be added to the charge and 7 grams will go into the checklist. Witness the main ejection ground test here.
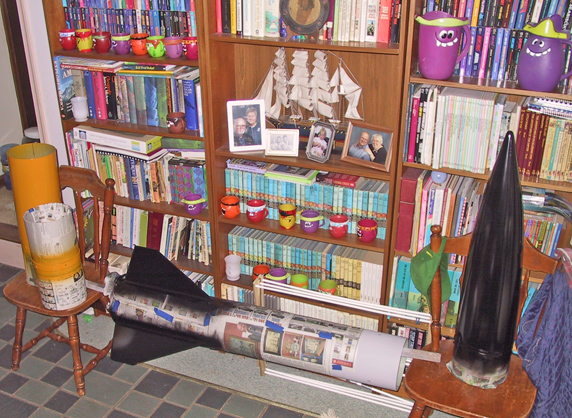
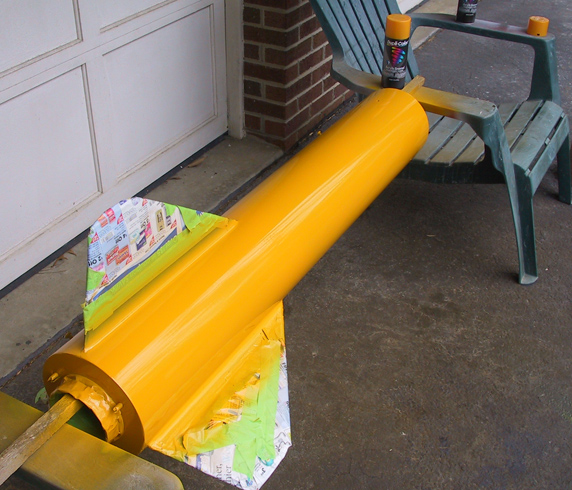
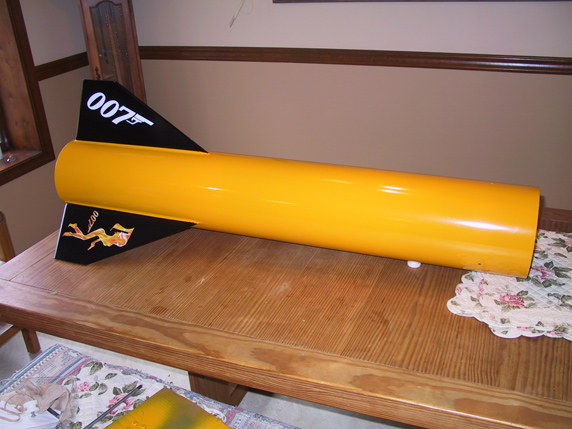
The rocket was disassembled and cleaned. A warm sunny day is needed for painting. Finally one came. The aft airframe was taped off and the fins given 3 coats of Dupli-Color gloss black paint. The nosecone was also given 3 coats of black as well. The 16-inch extension and the Ebay collar were given 4 coats of Dupli-Color school bus yellow. The forward airframe was also painted a few days later. The new paint these days require that all coats be applied within one hour or wait 7 days. The components were set aside to fully cure for these seven days.
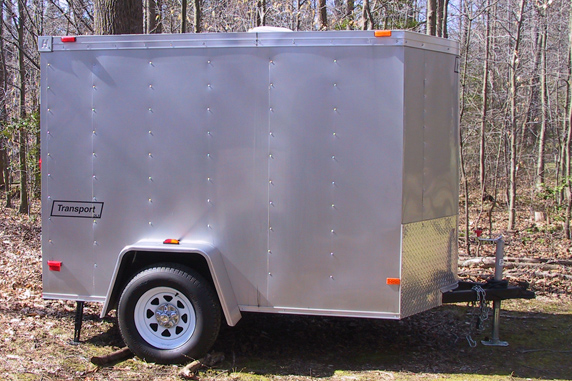
A special cargo trailer was purchased to transport this and the rest of the fleet to and from the launch fields. Some customization of the trailer is required and was started. This will allow safe transportation of the fleet and the necessary flight equipment and gear that will no longer fit into the back of the Highlander.
When not working on the trailer, mock launch preparations continue to be made in order to work out any kinks in the checklists and to become more familiar with the process.
The end of March finds me scurrying with final details and preparations. These preparations can not be rushed if success is to be achieved in 18 days.