![]()
Next step is to assemble the engine. Follow your rocket engine vendor’s directions exactly. Adjust the ejection delay if it is of the variable variety. Do not forget to add the ejection charge. You will be surprise at how often this step is overlooked. If there are any doubts, ask a fellow rocketeer. Pay particular attention to the engine’s forward and aft closures and always, always, double check everything. Consult the checklist frequently and mark each step complete when done. There are many distractions at the launch field with rockets flying overhead and spectators asking questions so do not underestimate the power of the checklist.
If the rocket is using electronics, whip out ye olde multimeter and start testing. Test the electric matches for continuity and resistance. Test all connections to and from the rocket’s electronics. Replace the battery with a fresh battery and then test the battery. Again, make sure the ejection charges are of the correct size and packed. Consult the checklist. All this might sound like overkill but it is a simple process that helps to insure a successful flight.
Insert the assembled engine into the rocket and make sure there is some positive retention to hold the engine in.
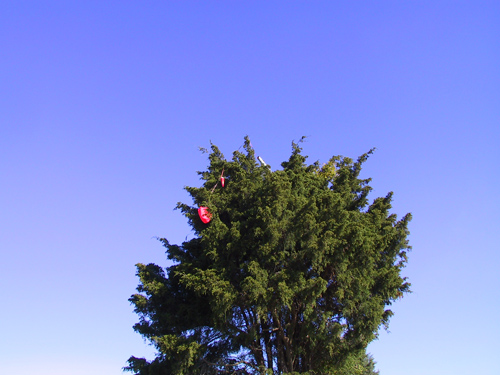
Even when everything goes according to plan, there are always challenges, including this rocket eating tree that sprung up from nowhere.
There is a lot of pressure during the ejection phase and the intention is to eject the recovery mechanism, not the motor. Do not use friction fit. Do not let anyone talk you into using friction fit. Screw type engine retentions are popular such as those from Aero Pack as it requires no special tools and is as simple as opening and closing a jar.
Now add the protective wadding. The purpose of the wadding is to protect the recovery mechanism from burning or melting. Dog Barf insulation is economical, fire resistant, and easily attainable. The general rule is to add enough protective wading to about 1 caliber of the body tube. So if the body tube is 3 inches, add 3 inches of wadding. Do not add too much wadding as it can absorb some of the ejection charge which could lead to ejection failure. Do not forget to protect the shock cord. If the shock cord is tubular nylon, it will melt in the hot ejection gases. There are protective sleeves for nylon shock cords or use KEVLAR ® shock cords which are fire proof. As an alternative, swatches of Nomex or KEVLAR ® can be attached to the shock cord and stuffed into the body tube as a heat shield. Protect the recovery mechanism at all costs.
Inspect the shock cord for frays or other damage and ensure that no knots exist. Carefully coil the shock cord. If a Nomex or KEVLAR ® swatch is attached, insert the swatch first followed by the coiled shock cord in the recovery compartment. Next is the parachute. Attach the parachute as close to the nose cone as possible and inspect the swivel to make sure it does not bind. There are many different methods of folding a parachute and just as many varying opinions of which method is correct. Here is my method that works for me. Grab the top center of the parachute with one hand and fold down the length of the parachute using your thumb and middle finger with the other hand until the parachute looks like a streamer. Fold the parachute over in half length wise and with the other hand, loosely wrap the parachute shrouds around the folded parachute. Insert the parachute into the recovery compartment followed by the nose cone. This folding method will twist the shrouds slightly which is exactly what we want. As the parachute deploys, the shrouds will be twisted thus preventing the parachute from fully opening. It will take a couple of seconds for the parachute to untwist on the swivel and fully inflate. Using this method reduces the shock of a sudden parachute deployment and can also prevent damage if the delay is a little off.
We are now ready to launch your rocket
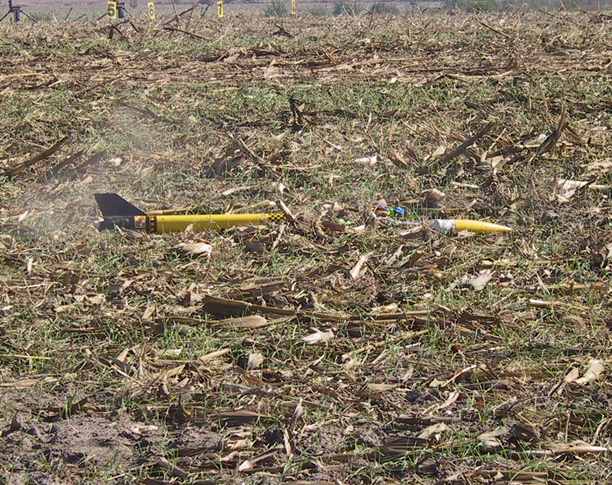
Parachute deployed but never opened. Not good!