The Trick or Treaters are now gone, leaving me
some leftover candy. I start to snack on some of this candy as I try to
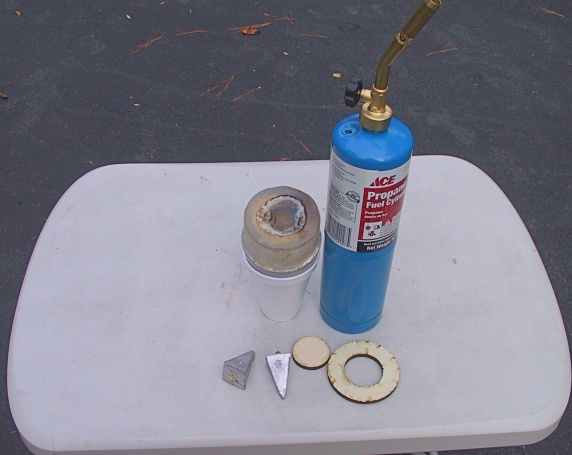
complete the Mars Lander nose cone. The tackle box was scavenged and
two five ounce pyramid fish weights were discovered. A normal propane
torch was used to heat the fish weights until the melting lead dripped
into the hole that was drilled into the nose cone. This allowed the
lead ballast to be far forward as possible. West System epoxy was used
to lock in the lead and fill in the rest of the hole. The forward
bulkhead and closure were then epoxied in place.
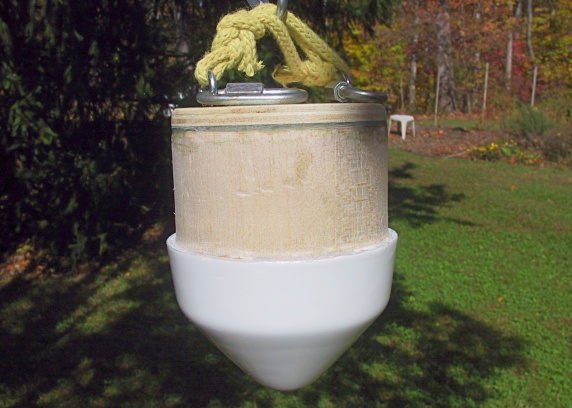
The nose cone was sanded with 400-grit paper before three coats of
Krylon gloss white was applied. It was sanded once again and the final
two coats carefully applied. The absorbing balsa nose cone made me long
for a plastic or fiberglass nose cone. The nose cone was given a coat
of Future Shine once I was satisfied. The recovery hardware was then
installed on the nose cone.
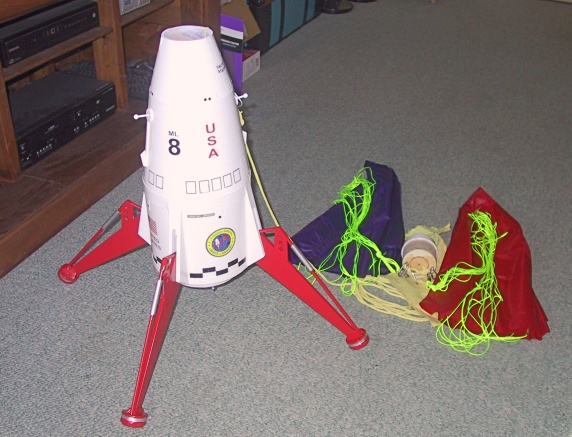
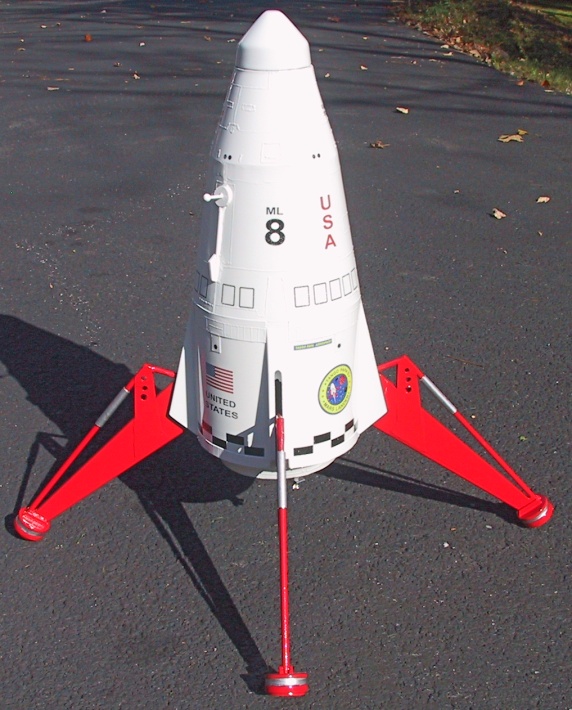
All the recovery gear was attached, checked, and packed away. This
completed the final construction of the Mars Lander. Steps 41 and 46
were finally checked off. The remaining step is to fly it.
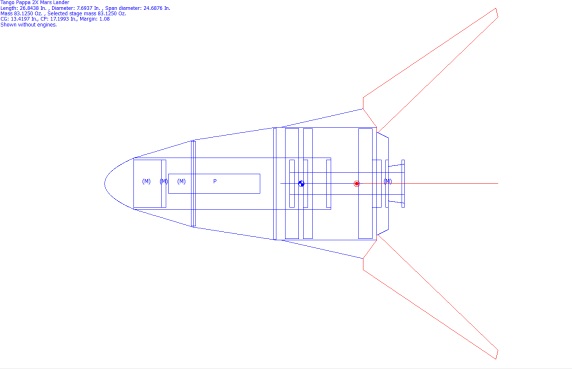
It was back to Rocksim to finalize all the little details. Various
motors were simulated and a cheat sheet printed out. The cheat sheet
will accompany the Mars Lander to the field and be referenced for the
various optimal delay times for the most likely motors that it will fly
on.
My Pappa
Tango 2X Mars Lander Rocksim file is available here for those that are
interested.
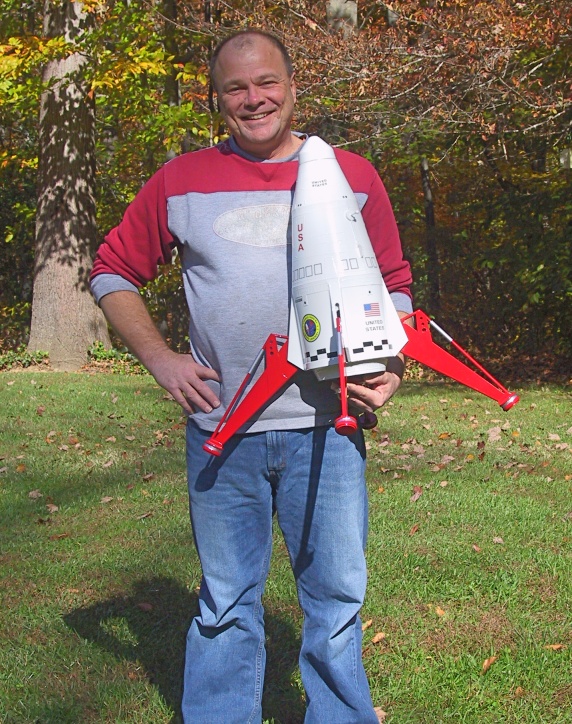
I reflect back on the Mars Lander project. I worked on the project when
time permitted and made some mistakes along the way. This was my first
Mars Lander and the experience that I gained was invaluable should I
ever choose to build another. The project itself was not all that
difficult, despite all the pieces that initially intimated me when the
kit was first opened. It was an enjoyable experience.
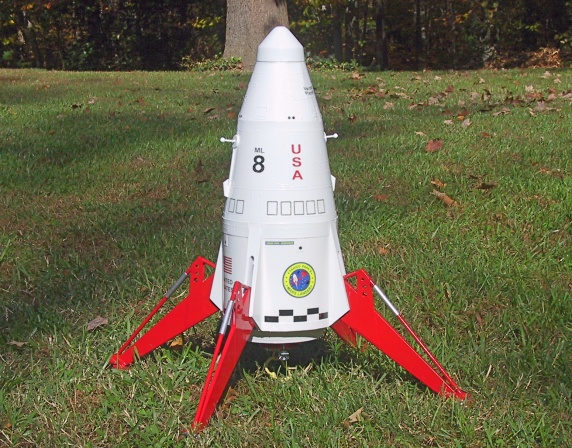
I am beginning to feel initial nervousness as I do on any maiden flight
of any new rocket. The only medicine is to get the Mars Lander up into
the air with a successfull recovery. I will need a calm day for this
maiden flight. This might be the hardest step of the Mars Lander
project as the breezes are beginning to blow in the mid-Atlantic region
this time of the year. Be patient and stay tune for the Mars Lander
flight report.